

You'll need:
1 YD fabric for body of bag
3/4 YD fabric of contrasting colors
matching thread
For the body of the bag:
Cut a rectangle 36" to 40" inches wide (depending on how big you want your bag, I cut mine the width of the flannel) and 16 1/2" long for the body of the bag, (again depending on how big you want your bag, and sorry no photo was taken).
Cut a circle about 6" in diameter, I used a salad plate to trace around.

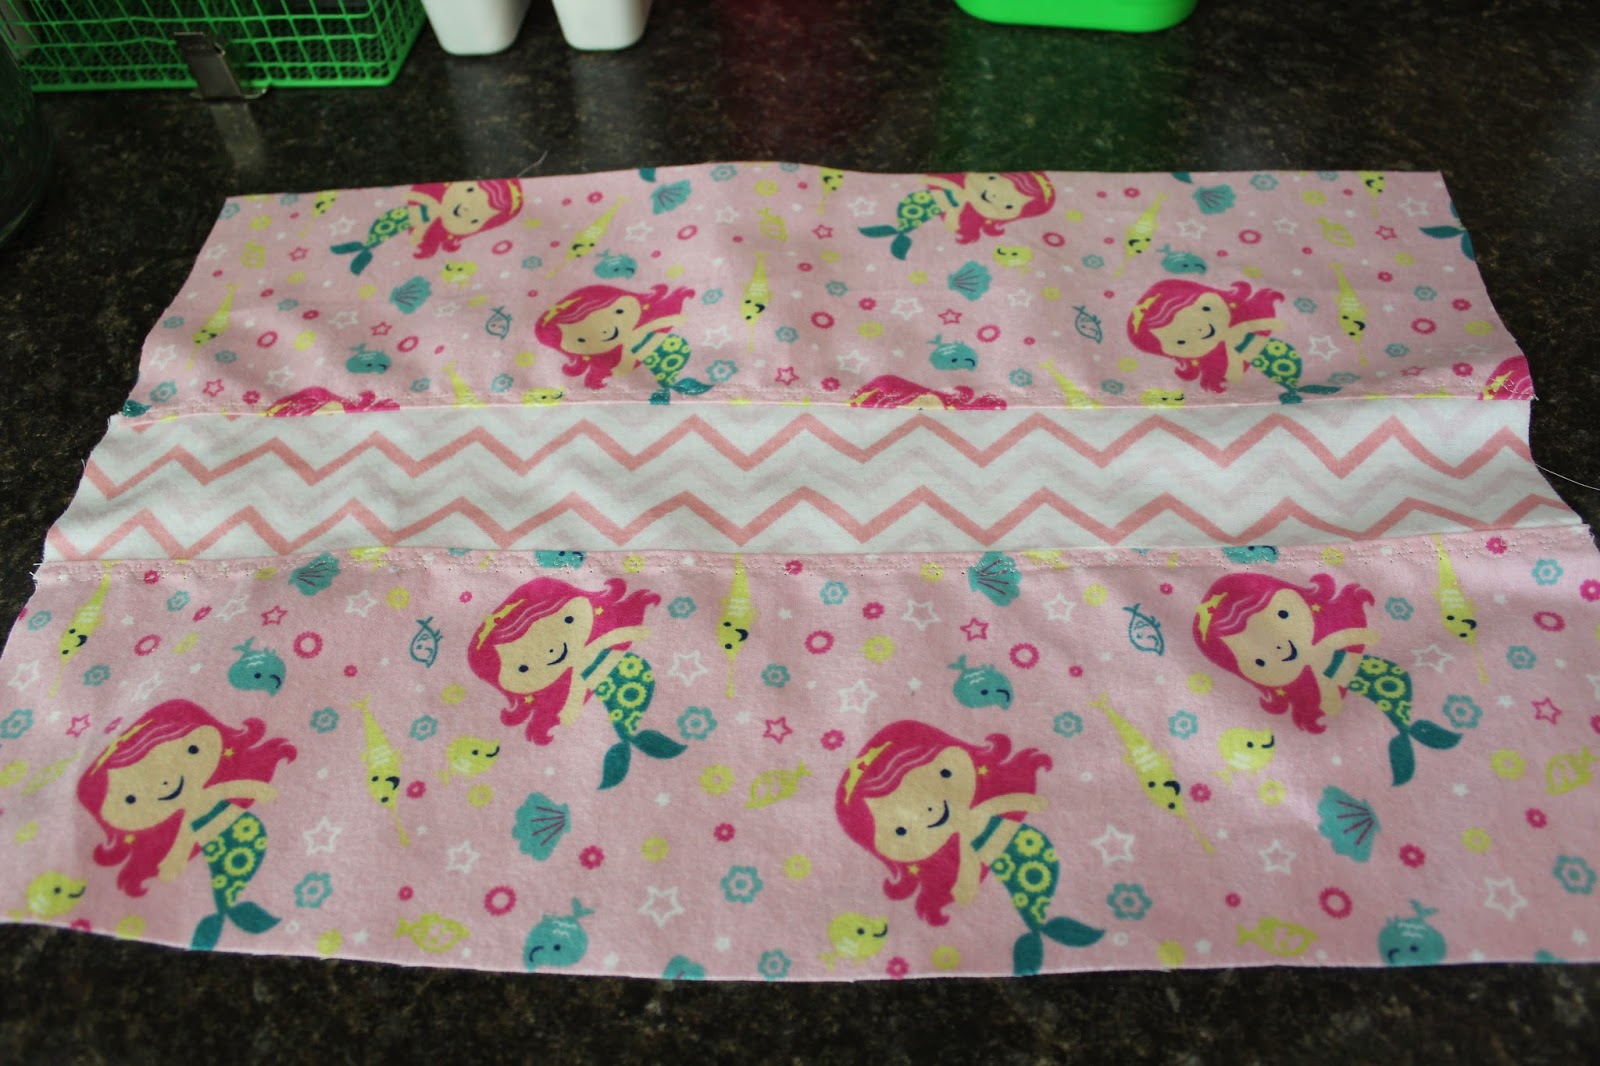
For the pocket:
Cut 2 of 5" x 12" pieces using the same fabric as the body of the bag, for the pocket. Cut a 3" x 12" strip of contrasting fabric for the pocket. It will look like this when sewn:
For the flap:
Cut 1 piece each 9" x 5" of body and contrasting fabrics, these can be rounded by folding in half and using your circle pattern (I used a plate), for the flap. You can skip this if you don't want a flap added to your bag. I thought it gave it more of the backpack look. My apologies I didn't take photos when I cut the pieces out.
It will look like this when sewn:
Outside of flap

Flipside of flap

For the drawstring/shoulder straps:
Cut 2 strips 3" x 36" (or whatever the width of the fabric is) for the drawstring/shoulder straps.
Let's begin:
I sewed the rectangle right sides together (one seam) to make a cylinder shape. Press the seams to one side and topstitch down the side the seams lay down.
Attaching the pocket to the body:
It might be easier to find your center and attach the completed pocket before sewing the rectangle together. I was making this up as I went along. Using the 2 pieces of matching pocket pieces, attach the center contrasting piece to each of these two pieces. I added a fun little topstitching but you could sew a straight stitch.

Fold the top and side pieces in 1/4 inch and press,
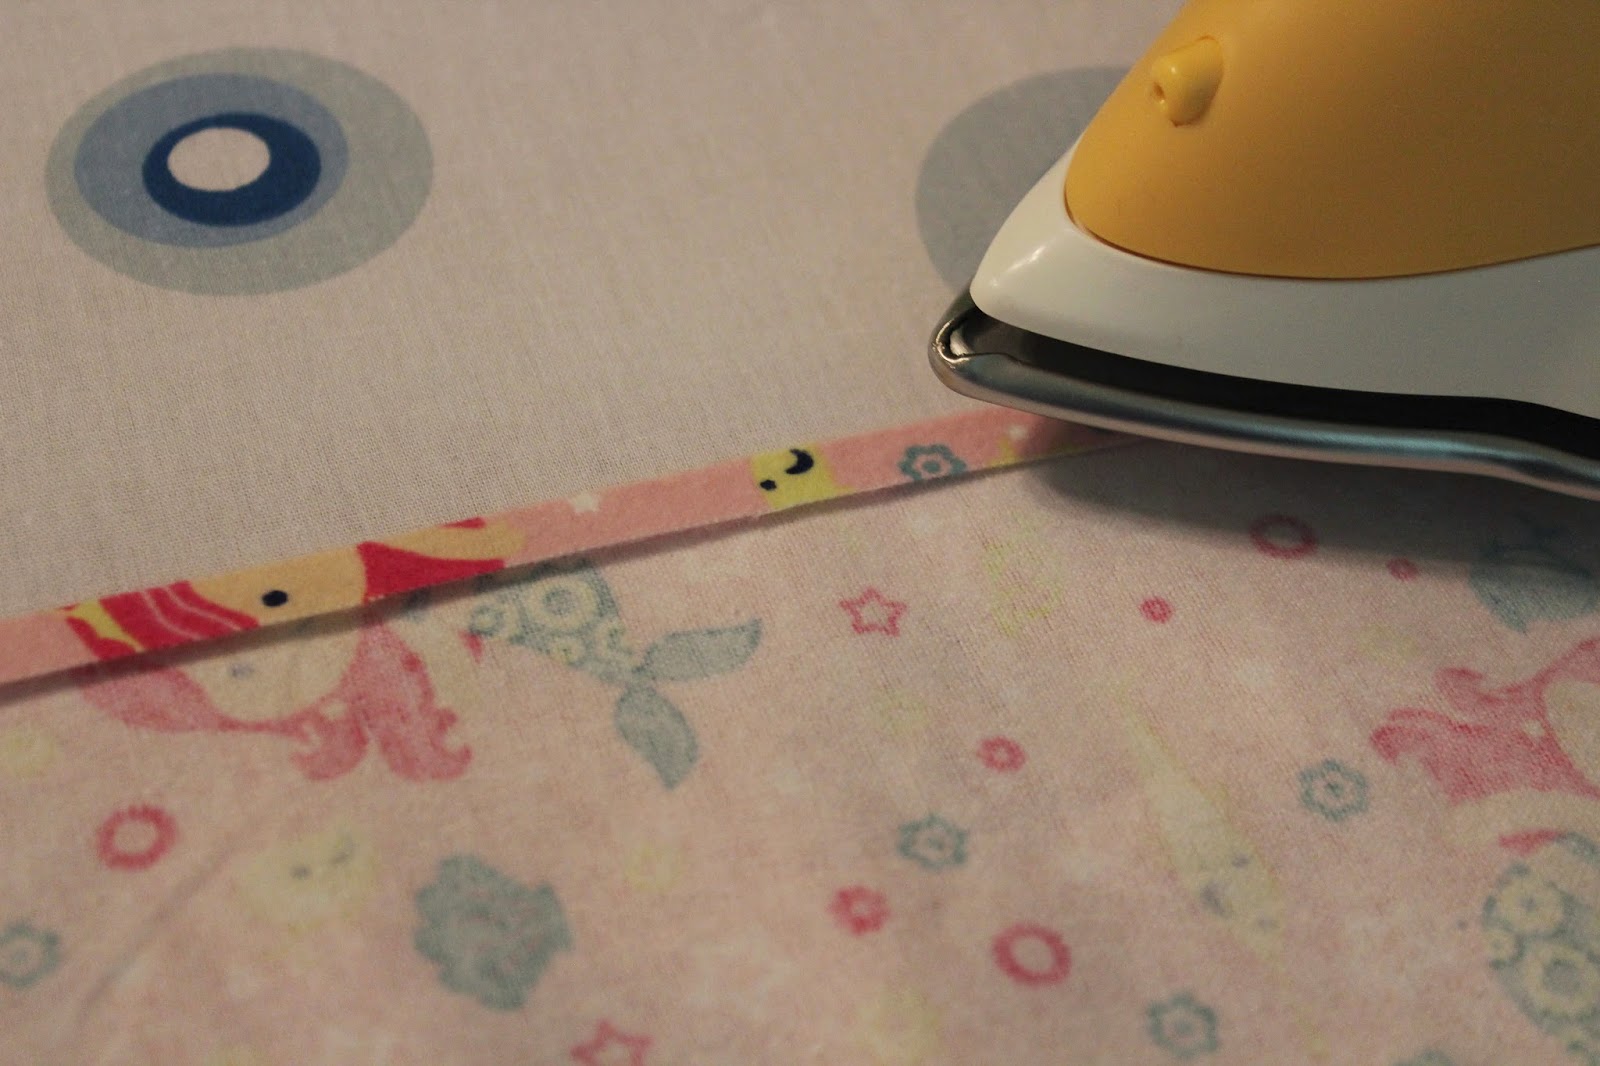
fold in again another 1/4", press.

To miter the corners, leave one corner seams folded in (2 layers of 1/4" each turned under and pressed), open the other seam and following the pressed line,

fold the corner down to meet the innermost pressed line


Sew around the edge of the pressed seams of the pockets to create a topstitch look as I did. (I did this before I sewed the pocket on the body)


Attach pocket to the bag front by sewing along the edge of the pocket.

Once the pocket is attached, if you want a divided pocket, press the center of the attached pocket to make a line.


Sew down the line making sure the bag and the pocket are even and smooth (and you are only sewing the front piece of the bag, do not sew it to the back of the bag).


For the straps:
Fold the strap pieces in half lengthwise and pin.

Sew down the length of the strap.

NOTE: It's a bit tedious to have to turn the straps out, here's another way to sew the straps: With wrong sides together you can turn the long edges under 1/2" and sew along the long edges.
Here is how I did this one:
After the straps are sewn, to turn them out I use this hook thingy:

You insert it all of the way to the top of the strap, "hook" a part of the fabric in order to begin pulling it inside out:


Once turned right side out, press flat with seams to the side.

Attaching the straps to the bag:
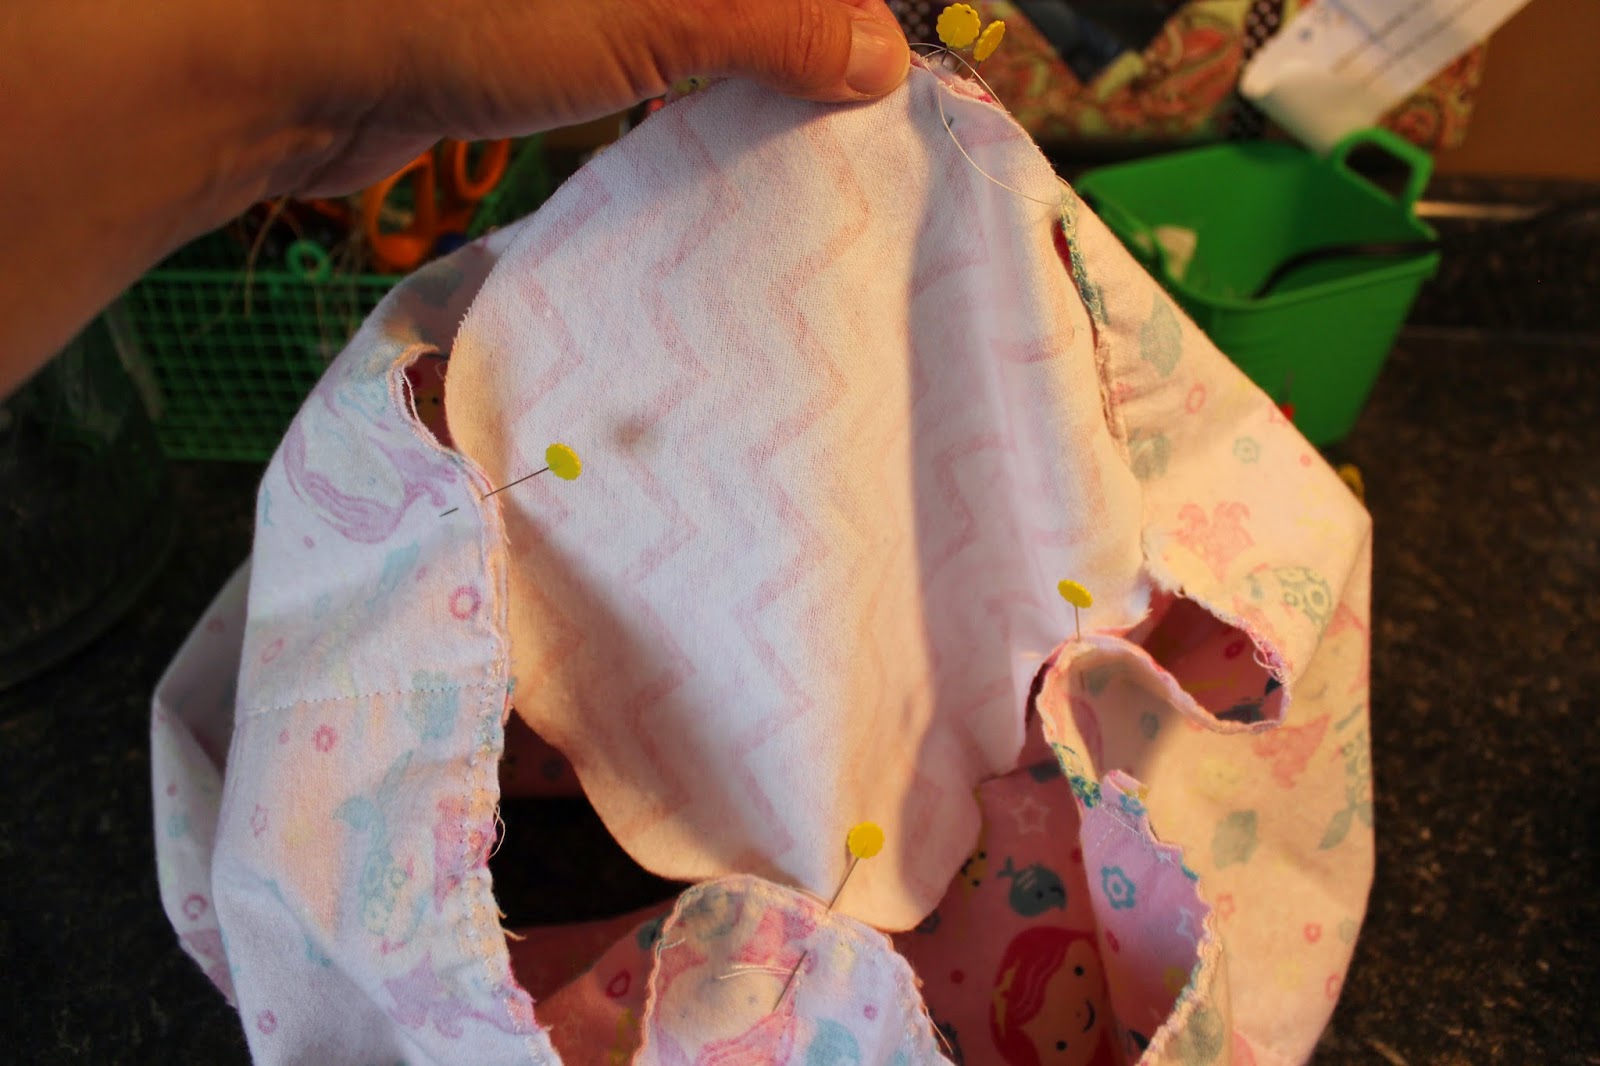
To attach the straps to the bottom of the bag, fold the outsides of the bag in toward the center:


and place pins to mark.

Pin the straps in place to the back layer of the bag.

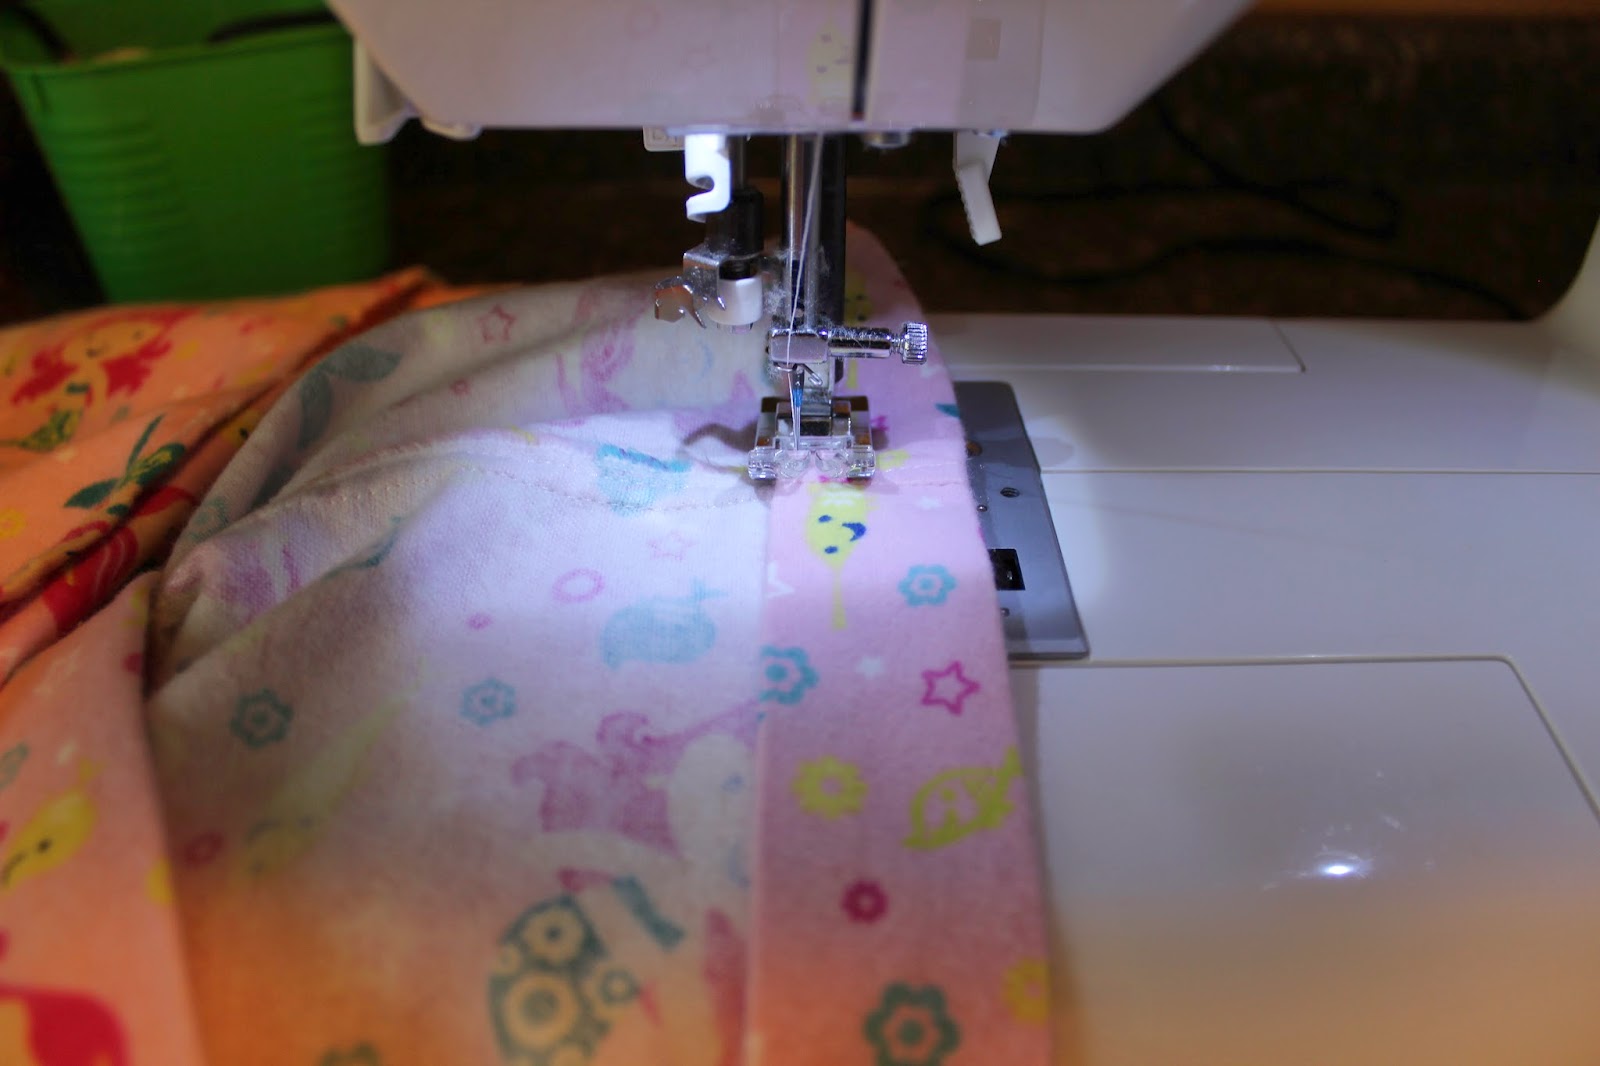
Sew the straps to the back of the bag in place.

Making the gathers to fit the circle bottom piece to the body:
To gather the bag at the bottom to attach the bottom circle, I use this method because it's much easier for me to pull the thread to gather. First, find some heavy thread or embroidery floss, you'll need a good amount so don't cut it until you have sewn all of the way around the bag bottom, and have enough thread to pull. Lay the heavy thread along where you will be stitching, set your machine to a wide zig zag. Holding onto your heavy thread place your needle to the right or left of the thread to ensure you aren't going to stitch on top of it (woooo my needle assembly/presser foot is fuzzy!):

Continue with the zig zag stitch over the heavy thread until you come to the start point.

Mark the centers at 4 places on the bottom of the bag.

Then mark the centers of your circle

Before you start to gather, align the marks on the circle with the bag bottom (I used pins) and pin in place.
Gently start pulling the thread to gather and scootch the fabric to gather at least one half of the bag to fit the circle and pin in place, wind the thread around one of the pins to secure,

repeat with the other side until all pinned.

Sew the circle to the gathered bag bottom, smoothing the gathers as you sew and make sure your straps are clear of the area you are sewing.


Sew a zig zag stitch around the edge, or use a serger machine to finish the edge.

Turn right side out

To insert the straps into the top of the bag:
Fold down the raw edge of the top of the bag 1/4", press, fold over again about 1 1/4" to make the band for the straps.

Make two lines centered in the front and two lines centered in the back of the band to make buttonhole openings for the straps to go through. Make your button hole stitches then carefully cut the buttonholes open.

Stitch the band down all of the way around the bag.
Attaching the flap to the top of the bag:
I used contrasting fabric and the bag body fabric to make the flap, with right sides together I sewed the two pieces together, leaving the straight edge open to turn out.

I then pressed it flat and topstitched with a fun stitch on my machine, and zig zag stitched the bottom edge to finish.
Fold the sewn flap in half to find the center and mark.

Mark the center of the back of the bag and match the centers of the back and flap, pin in place just under the band and sew just beneath the band stitching.

Pin a safety pin to the end of the strap to thread it through the buttonhole opening starting at the back holes to bring them out of the front. Knot the ends of the straps.


There you have it, your drawstring/backpack.

